Hyrule Map: Detonando! The Legend of Zelda: A Link to the Past
Por um escritor misterioso
Descrição

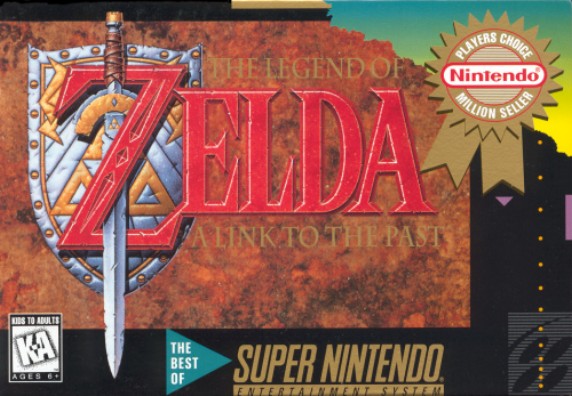
Detonado Legend of Zelda A Link To The Past SNes PDF
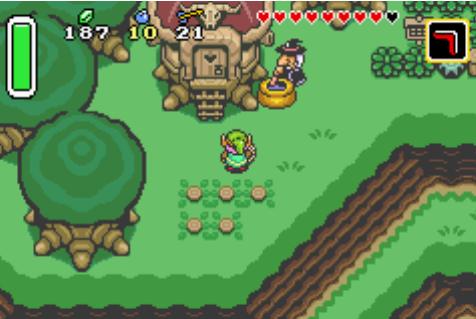
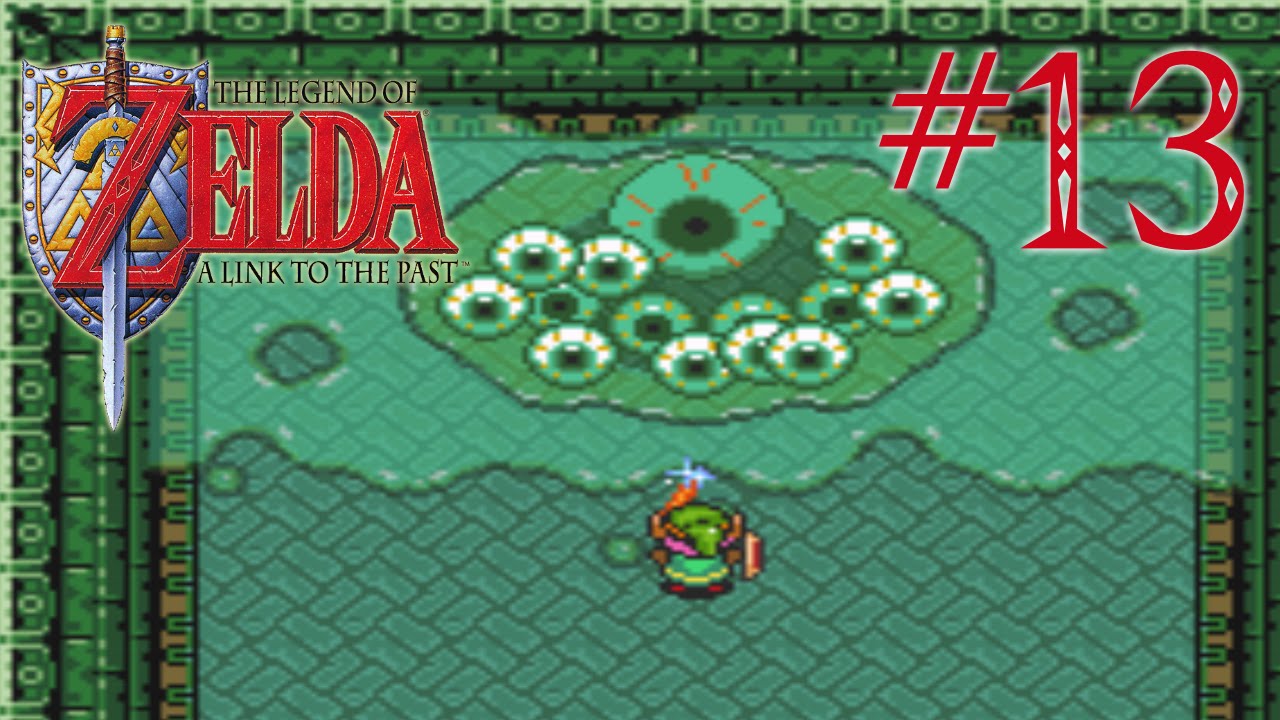
Hyrule Map: Detonando! The Legend of Zelda: A Link to the Past - Parte 13: Itens preciosos (opcional)
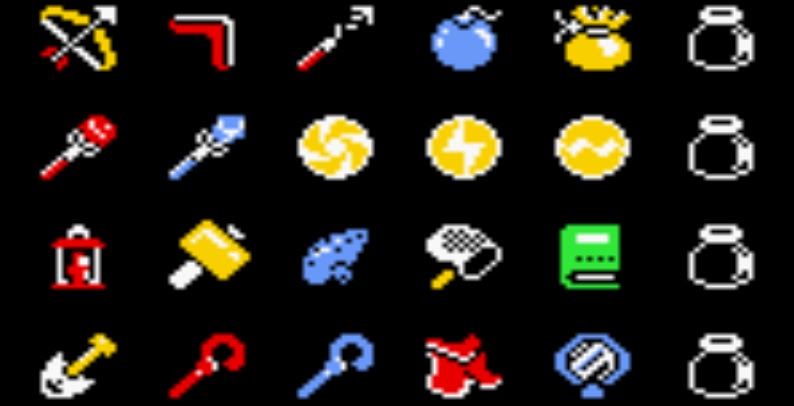
Hyrule Map: A Link to the Past - Guia de itens (Inventário)

Master Ore Locations - The Legend of Zelda: A Link Between Worlds Guide - IGN

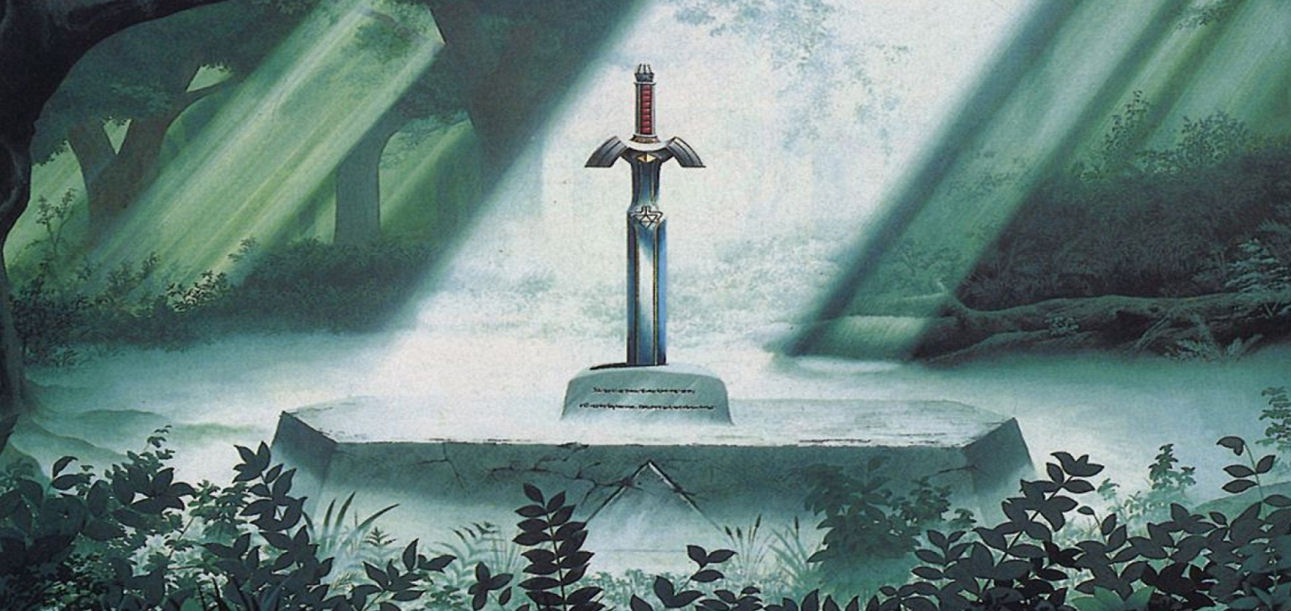
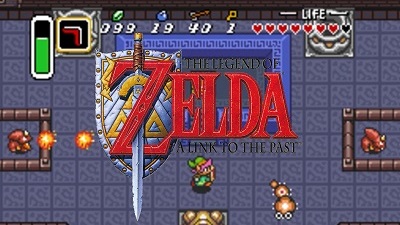
SNES – The Legend of Zelda: A Link to the Past – Análise / Detonado parte 1

Breath of the Wild Walkthrough - The Legend of Zelda Guide
A Link to the Past Walkthrough - Zelda Dungeon

The Legend of Zelda A Link to the Past Map [2560x1440]

Hyrule Map: Detonando! The Legend of Zelda: A Link to the Past - Parte 9: A batalha final em Hyrule Castle

Full Sheet View - Legend of Zelda: A Link to the Past - Hyrule Map
A canvas print depicting the iconic map of Hyrule from the classic SNES game Legend of Zelda: A Link to the Past. • Available in 5 different sizes •
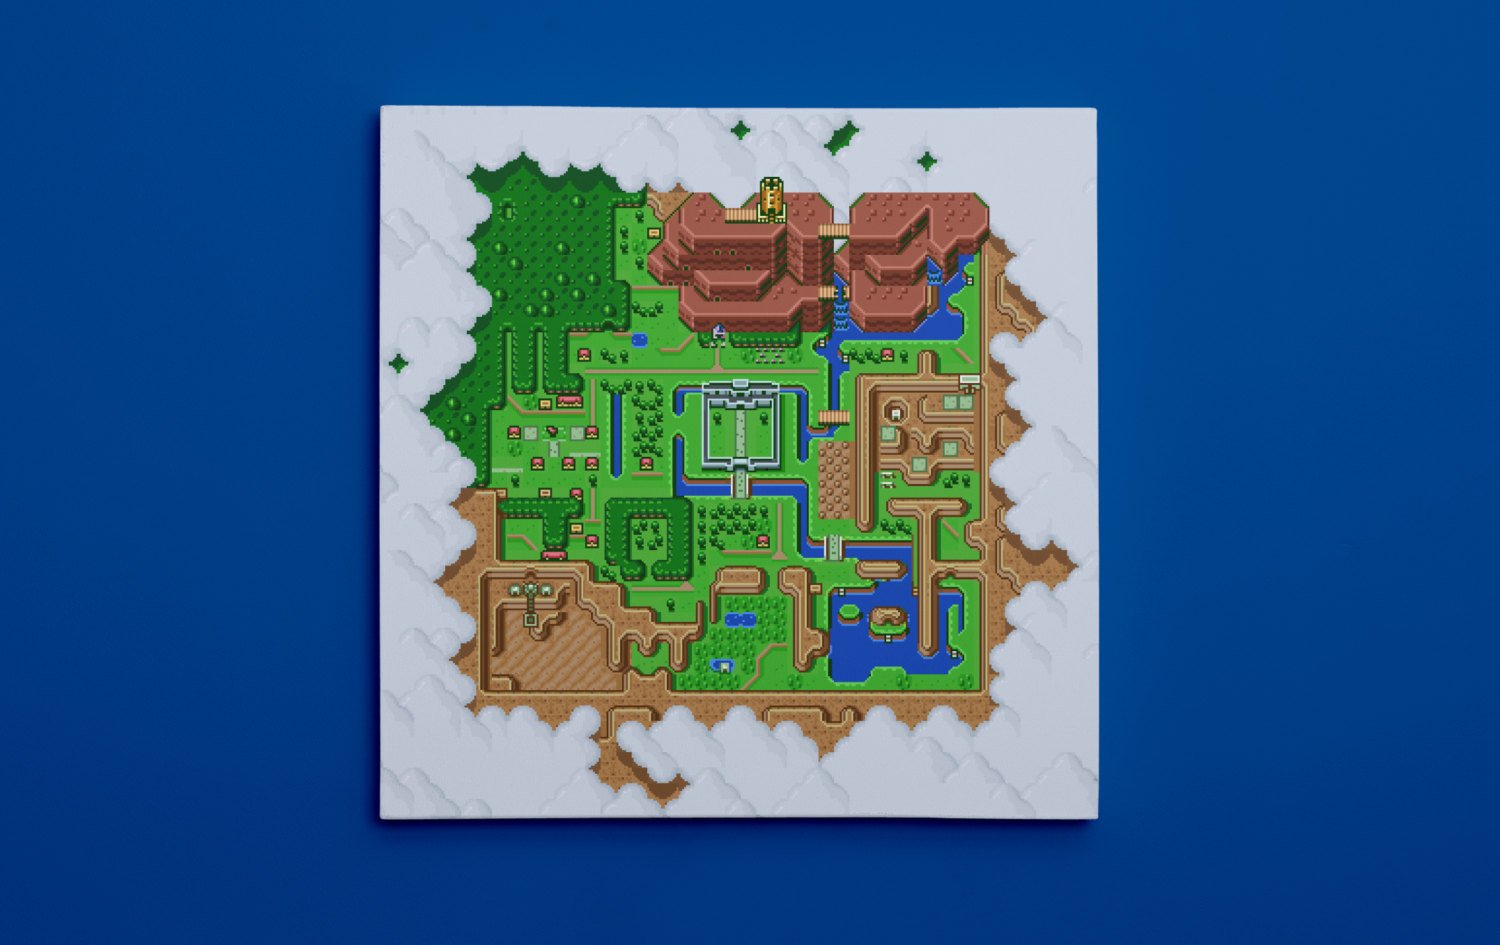
Legend of Zelda: A Link to the Past, Map of Hyrule - Canvas Wrap Print

Detonado Completo 100%] Zelda: A Link to the Past #3 - EASTERN PALACE


/pic7724903.png)